Porting Cocos Creator to UWP After Converting to Win32
Introduction
This solution provides a complete process for converting a Cocos Creator project to a UWP application by using a Win32 project as an intermediate bridge. This solution fully leverages the advantages of MSIX packaging technology, enabling HTML5 or native games to enter the Microsoft Store ecosystem, achieve cross-device coverage, and enable modern distribution.
Porting Process Flowchart
Publishing Cocos Creator as a Win32 Project
Development Environment
- Using Cocos Creator 3.4.1 as an example.
- Using Visual Studio 2017 as an example.
Publishing the Win32 Project
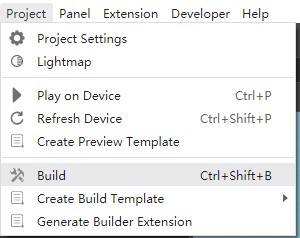
Open your project in Cocos Creator, using helloworld as an example. Click Project, then Build:
The publishing settings interface will pop up. In the publishing platform Platform, select Windows.
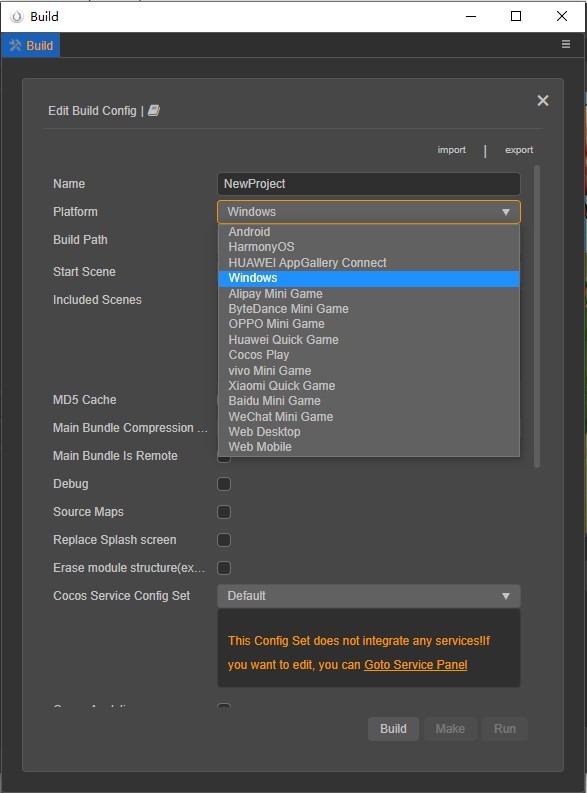
The Name of the published project should be based on your own project; in this example, it's NewProject. Other publishing parameter settings depend on the specific situation. After configuring, click the Build button.
Compiling the Win32 Project
After successful publishing, a Win32 solution will be generated in the publishing path:
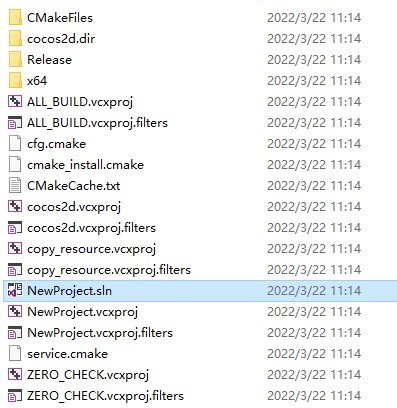
Open the solution with Visual Studio 2017 and set NewProject as the startup project.

SDK Integration and exe Build
This stage is fundamental, ensuring the game's core functionality is complete.
SDK Integration
In the exported Win32 project, follow the standard SDK integration guide to complete tasks such as dependency library import, API calls, and configuration settings. Be sure to complete all SDK-related development and testing during this stage.
exe Build:
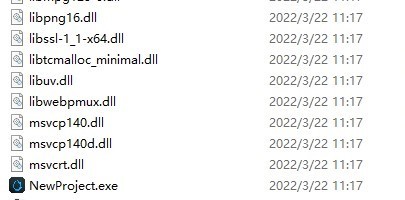
- Use Visual Studio to build your Win32 project, outputting a standard Win32 .exe file.
- Ensure all dependent libraries (such as DLLs) and resource files (images, configurations, etc.) are located in the same directory.
- It is recommended to use static linking to reduce external dependencies.
Build, Test, and Distribute
- Generate MSIX package: Generate the Microsoft Store app package in
.msixformat using MSIX packaging technology. - Local Testing: Install the MSIX package and perform comprehensive functional testing.
- Run WACK: Use the Windows App Certification Kit to certify the package, resolving any compatibility issues.
- Store Submission: Submit the certified MSIX package to Microsoft Partner Center to complete the store listing process.
Note: Please set your local computer to Developer Mode, otherwise UWP applications cannot be installed properly.